
Practical guidance for procurement and engineering teams on sourcing, shipping and inspecting server rails imported from China.
Finding Reliable Chinese Server Rail Manufacturers
Start with a rules-based supplier screen and a repeatable audit checklist. Use trade fairs and online sourcing platforms to build a short list, then verify capability with documents, photos, CAD and a staged audit (remote paper check → video walkthrough → on‑site when committing production).
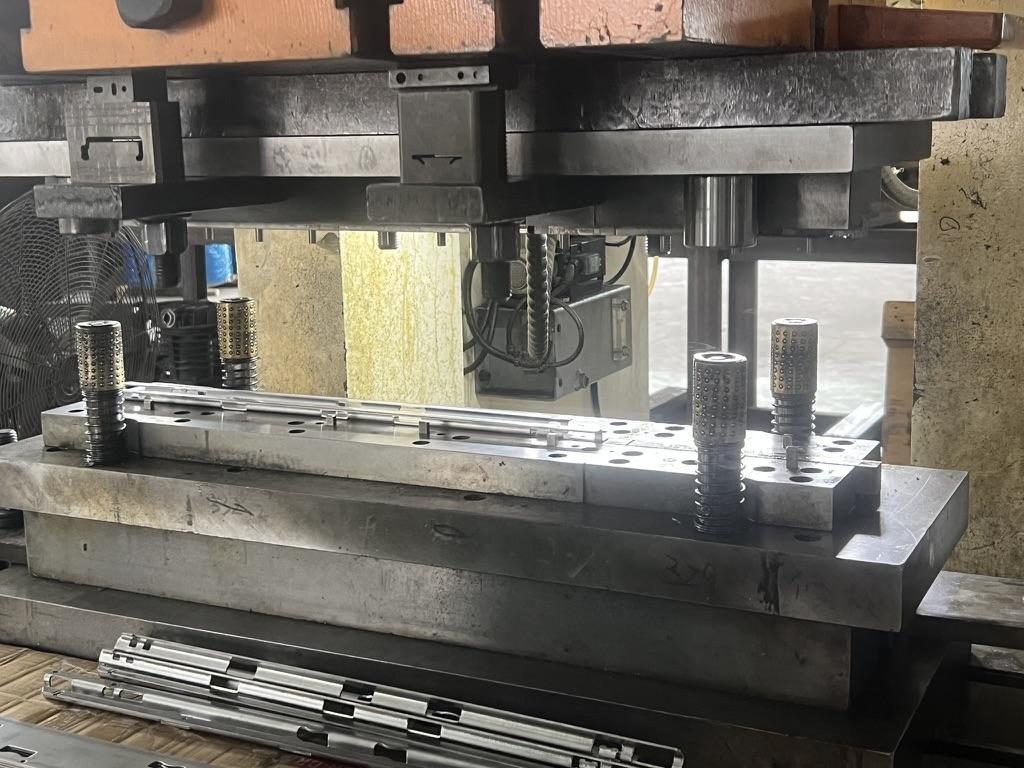
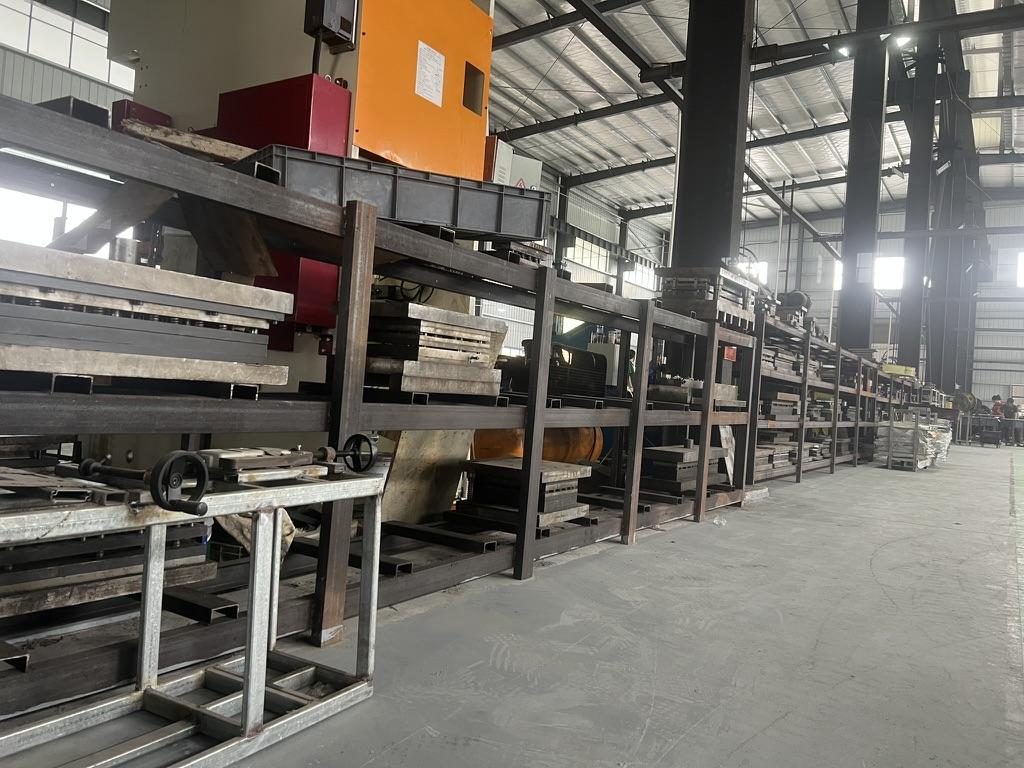
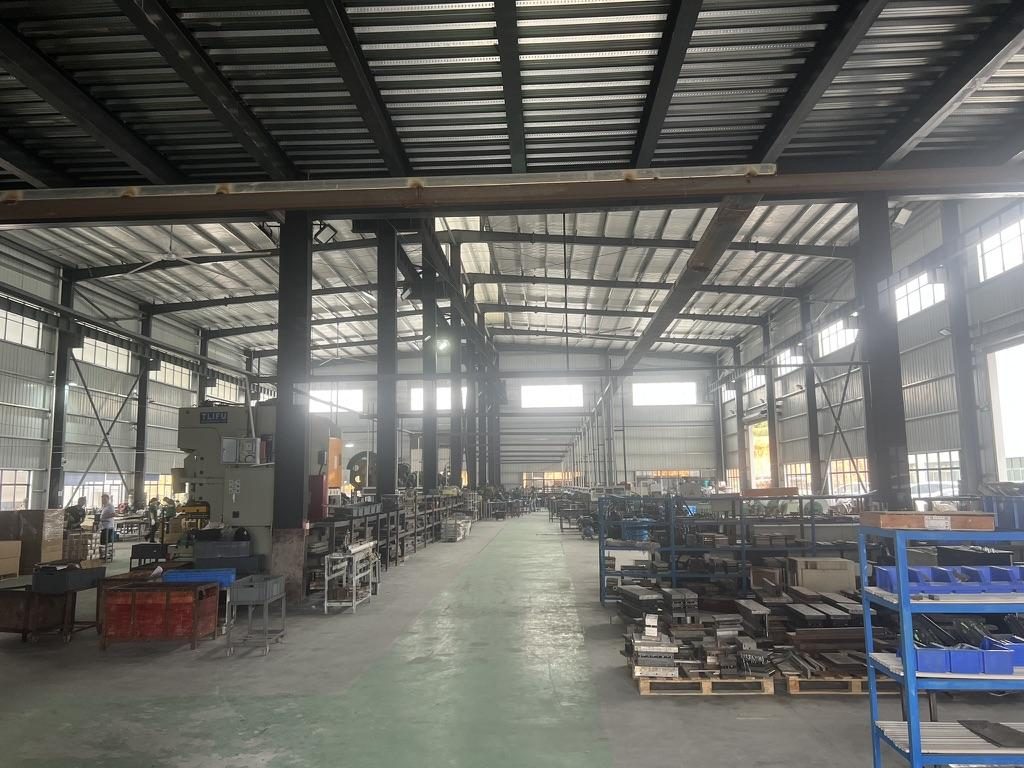 Overview of the server rail production workshop
Where to source
- Trade shows / marketplaces: treat platform listings as lead generators, not proof of capability.
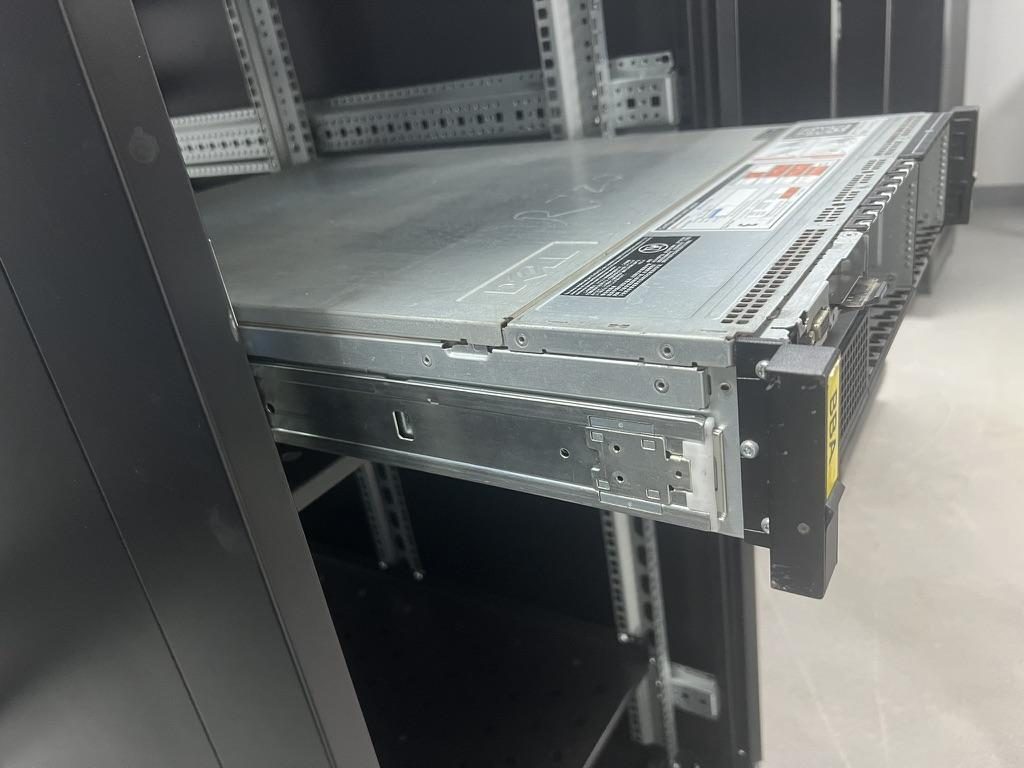
- Ask for: factory photos showing forming/press operations and packing, sample parts and STEP/2D drawings before serious commercial talks. Ask whether the supplier holds ISO 9001:2015 certification for processing slides — this is a useful signal of documented quality systems.
Document checks (minimum)
- Business license / export record and a written scope of business (metal products / slides preferred).
- Supplier ISO 9001:2015 certificate for slide/metal processing where available.
- Tooling/die inventory list and recent production or sample photos/videos that show consistent part marking and batch traceability.
On‑site / remote audit checklist
- Key machines and jigs visible on the production floor (press/forming stations, stamping tools, assembly fixtures, packing line) and evidence of preventive maintenance.
- Tooling records: die inventory, who owns the dies, spare‑die storage and part-to‑die traceability.
- Quality records: incoming material certificates, batch/sample inspection reports, corrective actions.
- Personnel: QC supervisor, tooling engineer and production lead names/roles and basic competency records.
- BOM traceability: who supplies bearings, slide cartridges, springs and fasteners.
- Testing: ask whether the factory performs extended static load validation (in MetrixSlide’s factory static‑load test a rail pair is held under load at full extension for 24 hours, and the MS‑FMR‑2U‑100 held 100 kg in that test); treat any such test as supplier evidence rather than an industry standard.
Third‑party inspection and sample strategy
- Use a third‑party factory audit for new, material suppliers (paper audit → photo/video walkthrough → on‑site audit if you will place production). Scope and fees vary.
- Order engineering samples first. MetrixSlide’s internal project experience shows sample lead time can be about 15–20 days after order confirmation for small pilot quantities — treat that as project‑specific guidance, not a guaranteed lead time for every supplier.
- On sample receipt, validate every critical mounting interface (T‑pin geometry, J‑slot/keyhole, bracket fit) against the supplier drawing and your CAD before approving production.
Hard‑gates to accept a supplier (MetrixSlide engineering practice)
- CAD‑level match on mounting-area interfaces and hole pattern (mounting features and datums must align in your chassis/rack model).
- Physical sample that installs into your target rack and chassis without forced fits (trial install).
- Documented, repeatable die/tool control and per‑batch part traceability.
Apply these hard gates before considering preferences such as ball‑bearing vs friction, tool‑less vs screw, or small dimensional tweaks.
Product Specifications, Rack Compatibility, and Testing
Technical acceptance must be a line‑by‑line checklist; “19‑inch” alone is not enough. Define dimensions, mounting method and test criteria up front.
 MS-TLS-120 Tool-less Ball Bearing Server Rail Kit — view product
Rack and chassis inputs to collect
- Rack standard and hole type: record IEC/EIA nominal 482.6 mm (19‑inch) classification, but always capture the actual post hole type (square, round, threaded) and the post hole dimensions or thread spec. Photograph the post face and any installed rails/cage‑nut assemblies.
- Actual mounting depth: measure front‑to‑rear post distance at the intended installation height (record min/max). Do not confuse chassis depth, rail closed length or travel with mounting depth.
- Chassis interface: provide the mounting‑area STEP/2D, T‑pin head Ø, shaft Ø, under‑head clearance and datum positions when using PEM pins or captive pins.
Key technical checks (acceptance checklist)
- Mechanical fit: confirm closed/extended/bracket fit ranges on the supplier drawing and validate against your rack post distance. Note: closed length, full extension and bracket adjustment range are three distinct drawing values — always compare the bracket (mounting) range to measured post distance.
- Mounting method: confirm stab‑in vs drop‑in installation sequence (rear first vs vertical drop) and that the rail supports the intended method.
- Load rating: require a per‑pair rating stated as (a) static or dynamic, (b) extension state at which it was measured, (c) test fixture description and (d) test duration. MetrixSlide’s MS-BBR-180 has a nominal capacity of up to 180 kg per pair, and a formal test report at that load is not yet available; require equivalent declarations and test details from suppliers.
- Sag and stiffness: request a deflection acceptance criterion or an anti‑sag design description; MetrixSlide references a patented anti‑sag slide structure and asks suppliers to provide their static‑load protocol and results.
- Installation risk checks: confirm that stamped hole positions and tolerances match the drawing. MetrixSlide engineering notes that stamping tolerance variation is a common cause of misalignment and installation difficulty.
- Functional testing: full insertion/extraction cycles, lock‑out operation, captive screws and retention under load.
- Validation statement: require that suppliers map each tested sample to the drawing revision and batch number.
Rail drawing terms (short definitions — MetrixSlide practice)
- Closed length: rail length when retracted (assembly/transport length).
- Full extension: length when extended to the design stop.
- Bracket (fit) range: the front‑to‑rear post distances the front/back brackets can span or adjust to — this is the value to compare with measured post distance.
Rack‑fit measurement method (operational)
- Measure inside post‑to‑post distance at the installation height and at top/middle/bottom — record min/max.
- Photograph post faces, hole pattern and any existing rails or accessories.
- Compare measured post distance to the rail drawing’s bracket fit range.
- Trial install a sample pair into the target rack and perform a guided installation; check front‑U positioning and adjacent‑U clearance.
Sample‑vs‑production consistency
- Require a pilot production run and an incoming inspection sample plan before full release. Validate hole‑position repeatability, stamping tolerances and finish against the approved sample and drawing. Hold production release until sample‑to‑batch consistency is demonstrated.
Anonymised project examples (engineering lessons)
- A North American telecom OEM project used a three‑section ball‑bearing rail family where a tested part has closed = 674 ±3 mm, extended = 919 ±3 mm and a reduced pull‑out / lock‑out target around 150 ±3 mm (the project reduced an initial 300 mm pull‑out requirement to ~150 mm for service/loading reasons). The reduced pull‑out and lock‑out limits were validated at CAD and sample stages before production.
- An Indian HPC ODM integrated a customized rail CAD where the front bracket adjustment range was 650–965 mm and the customer’s rack‑post distance measured ~812 mm — within the bracket range. MetrixSlide’s project flow there followed Requirement → CAD → Sample → Physical Installation → Design Freeze.
- A SaaS company converting stab‑in rails to drop‑in provided PEM pin data: head Ø 6.502 mm, shaft Ø 4 mm, under‑head clearance 1.585 mm; the conversion required only a J‑slot/inner‑rail change and a pilot sample to validate engagement.
- MetrixSlide notes that some factories state stamping absolute errors can be controlled within 0.08 mm; verify this factory precision claim with sample inspection reports. In MetrixSlide’s factory static‑load test a rail pair is held under load at full extension for 24 hours, and the MS‑FMR‑2U‑100 held 100 kg in that test; ask for the test summary as evidence.
Taxonomy and selection order (MetrixSlide practice)
- Taxonomy: motion architecture (sliding vs fixed) → sliding mechanism (ball‑bearing vs friction) → mounting approach (tool‑less vs screw) → installation engagement (stab‑in vs drop‑in) → sections (two/three) → extension/pull‑out/load.
- Selection order (hard gates before preferences): chassis inputs → rack inputs → mounting‑interface compatibility hard gates (CAD fit, sample install) → load hard gate (per‑pair, extension state) → architecture preferences (ball vs friction, tool‑less) → CAD → sample → production.
Total Landed Cost, HS Codes, and Import Duties
Build a per‑unit landed cost calculation populated with supplier quotes and forwarder estimates. Don’t treat landed cost as a black box.
Per‑unit cost line items
- Factory price (EXW/FOB entry point).
- Local packaging and export cartons (carton weight and dimensions).
- Inland transport in China to port/airport.
- Export documentation and origin customs clearance.
- Ocean or air freight (FCL/LCL/air) and port terminal handling (THC).
- Insurance and freight insurance premium.
- Destination port charges and customs broker fee.
- Import duties, applicable tariffs and taxes (validate HTSUS/HTS classification with your broker).
- Domestic delivery from port/airport to your facility and last‑mile handling.
- Contingency for demurrage, port congestion or ISF/manifest fees.
- Reserve for claims and incoming inspection costs.
HS/HTS classification guidance
- Servers and rack‑mount compute equipment commonly fall under automatic data‑processing headings; classification influences duty rate — always validate the HTS code with your customs broker and support it with technical spec sheets and photos.
- Be aware of trade measures and screening for restricted components; consult legal/compliance counsel for controlled parts.
Packaging and origin marking
- Packaging must protect rails (anti‑corrosion wraps, foam supports for ball‑bearing subassemblies, secure blocking against vibration).
- Country‑of‑origin marking rules apply; ensure cartons are correctly labeled where required.
Apportioning port and overhead fees
- Convert bulk charges (THC, local drayage) to per‑unit by dividing total cost by the number of finished pairs in the shipment. Track weights/CBM for accurate allocation, especially for mixed cargo or LCL.
Documentation to collect for costing and customs
- Commercial invoice, packing list, bill of lading/air waybill, export declaration, COO (if required), test reports and supplier technical data sheet. Keep these with your broker for duty and classification support.
Shipping Options, Transit Times, and Logistics Management
Choose transport mode and Incoterm based on urgency, cost tolerance and risk allocation. Good packing and claims‑ready documentation makes recovery simpler if something goes wrong.
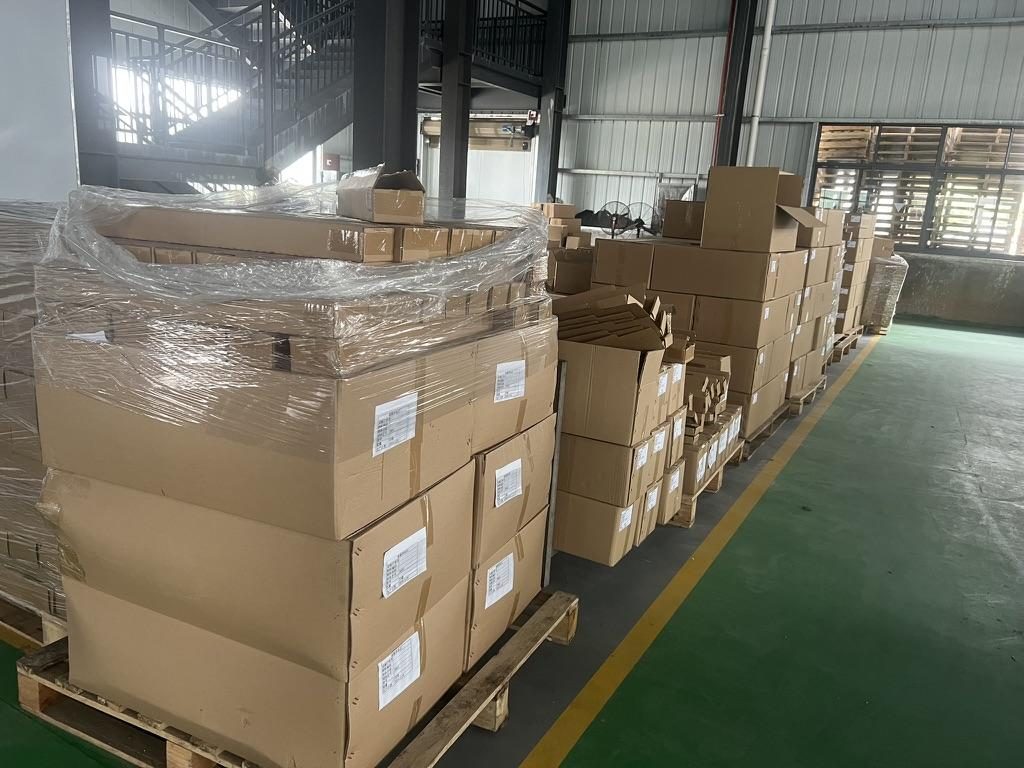
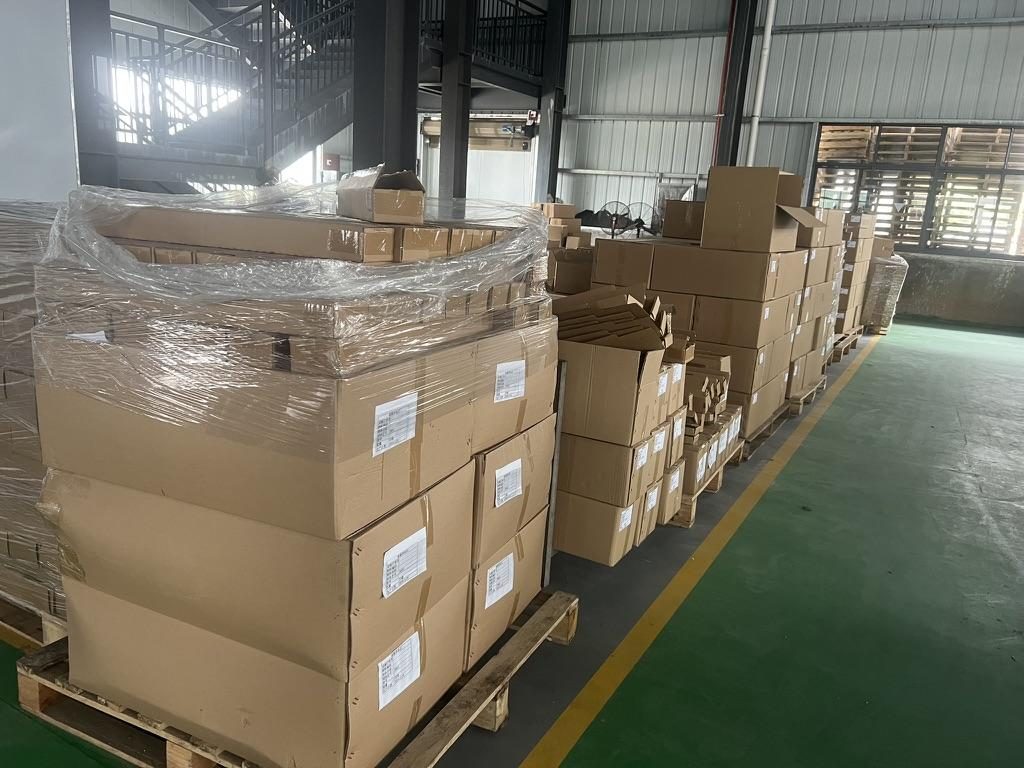 Export cartons of server rail kits ready to ship
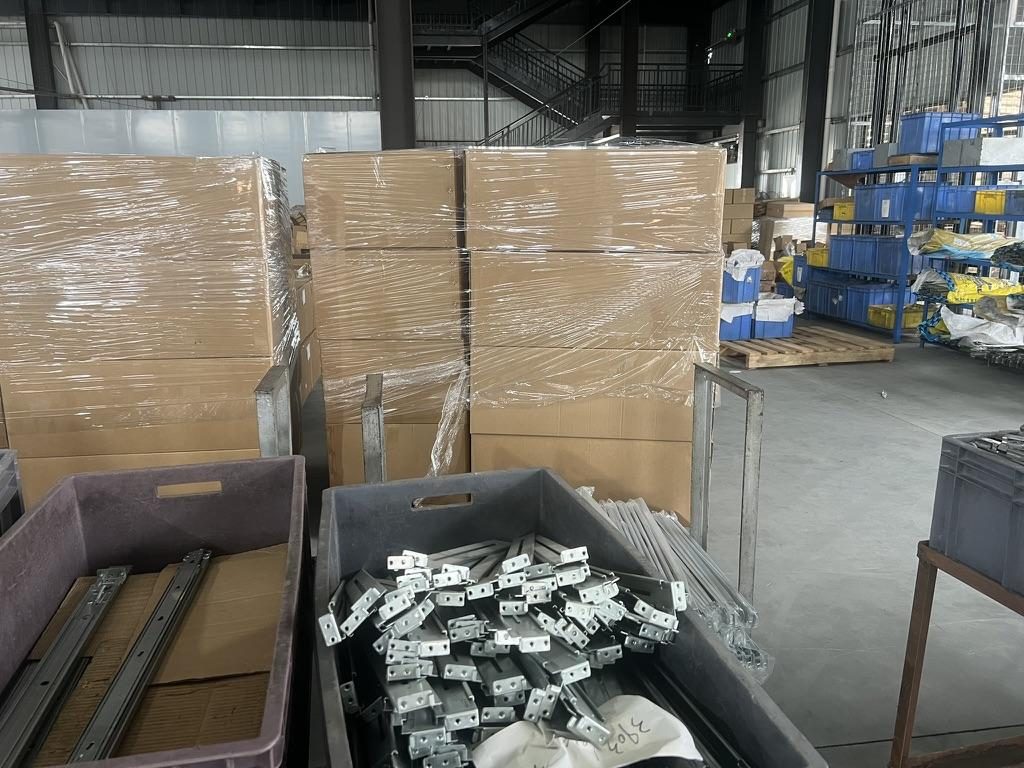 Finished server rails being packed for shipment
Mode selection (summary)
- FCL: good for larger volumes; fewer handling events and lower per‑unit transport risk.
- LCL: for smaller quantities but increases handling and potential for delays/damage.
- Air freight: fastest for samples or small high‑value runs; highest cost.
- Express courier: fastest for single samples and paperwork with good end‑to‑end tracking.
Incoterms and insurance: practical tips
- Match Incoterm to your logistics maturity. EXW/FOB shifts more responsibility to you; CIF/DDP shifts more burden to the seller.
- Confirm insurance scope (All Risks vs named perils) under the chosen Incoterm and keep copies of the insurance certificate.
Selecting a freight forwarder and customs broker
- Prefer forwarders experienced with electronic/IT equipment, familiar with your routes, and responsive to claims.
- Ask for a sample transit plan, document checklist and a claims history summary.
Claims process and evidence checklist
- Photograph cartons and interior packing before acceptance when damage is suspected.
- Collect: carrier receipt, bill of lading/air waybill, packing list, commercial invoice, photos of damage, third‑party inspection report, and supplier batch/packing lists. Notify carrier/insurer promptly and follow claim timelines.
Payment Terms, Contracts, and Risk Mitigation
Structure payments to align with verifiable technical milestones and embed traceability clauses.
Payment options and tradeoffs
- Upfront T/T: simple, but mitigated by sample deposits and milestone holdbacks.
- Letter of Credit: reduces counterparty risk but adds bank fees/paperwork.
- Escrow/third‑party release: useful for higher‑value first orders.
Contract clauses to include
- Acceptance criteria tied to drawings, functional tests and sample approval.
- Milestone payments: sample approval → pilot run → final acceptance.
- Warranty/RMA terms with return logistics and spare‑part support.
- Remedies for late delivery or quality shortfalls: retention, rework and replacement mechanics.
- Compliance and export‑control attestations with parts traceability.
- Rights for third‑party inspection and destructive testing when batch failures occur.
Mitigation steps
- Insist on piece‑level BOM traceability (bearing, slide cartridges, rollers).
- Use a pilot run and incoming inspection plan before full payment release.
- Keep contractual rights to independent test reports and destructive tests where needed.
Conversion / CTA
For server‑rail imports, prepare an on‑the‑record landed cost estimate, a factory audit plan and a sample‑testing plan. Have your BOM and key drawings ready.
What to send
- Chassis drawing or STEP of the mounting area, rack post‑to‑post distance and hole type, expected load per pair and order quantity.
What you get back
- A rail‑matching proposal (tools/changes flagged), production drawings, a pilot sample plan and an itemized landed‑cost calculation.
Typical next steps
- Upload your files and request a quote at https://www.metrixslide.com/page/create-a-quote/ or contact us at https://www.metrixslide.com/contact-us/. Small bracket/hole‑pattern/length/thickness adjustments on existing platforms are typically handled within the bounded customization scope; structural redesigns are scoped separately.
Talk to a MetrixSlide engineer
Want an engineer to run this check on your own chassis and rack? Send us a chassis drawing or model (STEP or DWG), the rack post-to-post distance and hole type, the expected load and your planned quantities. Within 24 hours you get a rail matching proposal from an engineer, followed by 2D/3D drawings for review and sample pairs (typically 15–20 days after drawing approval) for physical validation before the full order.
Bracket position, hole pattern, rail length and thickness adjustments on our existing platforms usually carry no tooling fee; structural redesigns are quoted separately with dies made in-house.