
Installing server rack rails correctly is the difference between a server that slides out smoothly for years and one that jams, sags, or — in the worst case — drops on the floor. This step-by-step guide walks through a vendor-neutral installation for a standard 19-inch rack, plus the compatibility checks, special cases, and troubleshooting that most instructions leave out.
Before You Start: Check Compatibility, Rack Type, Tools, and Safety
Most failed installs are decided before you pick up a screwdriver. Spend five minutes here and the rest goes smoothly.
First, confirm the rails actually fit. Match the server depth to the rack's front-to-rear post distance, and make sure the rail's adjustable range spans it. Identify your rack type — a 4-post rack supports the chassis front and rear (required for most servers), while a 2-post rack only holds a single pair of posts. Then check the mounting holes: square holes (use cage nuts), round threaded holes (10-32, 12-24 or M6), or unthreaded round holes. Finally, know your rail type — OEM (model-specific), universal, adjustable-depth, or tool-less — because each mounts a little differently.
Tools and hardware you'll need
- Cage nuts and a cage-nut insertion tool (for square-hole racks)
- Rack screws and rail screws (often 10-32 or M6) plus any washers supplied
- A #2 Phillips screwdriver or a power driver set to low torque
- A tape measure and a small level
- The rail kit's instruction card, if included
Before mounting, check the screw-head height on the rails — an oversized or protruding screw can stop the server from sliding all the way in.
Safety first
- Move heavy servers with two people; never balance a chassis one-handed.
- Deploy the rack's anti-tip feet or stabilizers before loading anything.
- Install from the bottom up so the rack stays balanced and you're not reaching over installed gear.
- Keep the heaviest equipment low in the rack to lower the center of gravity.
Step-by-Step: Install Server Rack Rails in a 4-Post Rack
This sequence works for Dell, HPE, universal, adjustable and tool-less rails alike — the hardware differs, but the logic is identical.
- Identify left and right rails. Most kits are marked L/R and FRONT/REAR. Note the inner and outer rail members and which end carries the extension or sliding section.
- Pick the U position. Using the rack's U markings, decide the exact height and confirm the same U position on all four posts. Mark it so both sides line up.
- Prep the posts. For square-hole racks, press cage nuts into the chosen holes (front and rear). For tool-less rails, just confirm the clips will align with the square apertures. For threaded racks, identify the correct screw thread.
- Mount the front of the rail first. Hook or clip the rail's front bracket into the front post at your marked U, then secure it. Front-first keeps the rail steady while you set the rear.
- Set the rear and adjust depth. Extend the rail to reach the rear post, slide it to the correct depth, and engage the rear bracket. Adjustable rails lock at a range of depths — make sure both rails are set to the same depth.
- Tighten everything. Secure front and rear with the supplied screws, cage nuts and washers. Tool-less rails should click and lock without fasteners, but still verify the latch is fully engaged.
- Check level and alignment. Confirm both rails sit at the identical U position and are level front-to-rear. A rail that's even one hole off on one side will bind the server.
Tool-less and OEM rails may add a release latch or locking mechanism — engage it per the kit, but the mount-front-then-rear, level-both-sides logic never changes.
How to Slide the Server Onto the Rails and Verify the Installation
With the rails mounted, you're ready to load the server.
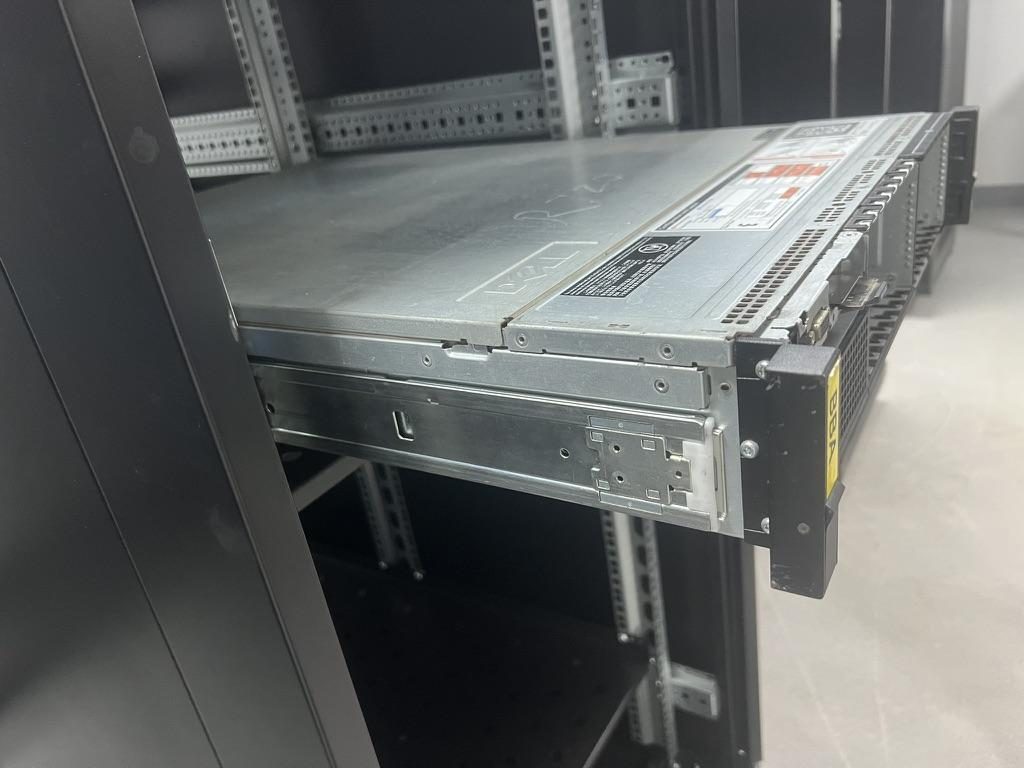
If your kit uses inner rails, attach the inner rail member to the server chassis first (it usually clicks onto studs along the side). Then, with two people, lift the server and align the inner rails with the entry points of the left and right slides. Push the chassis in slowly and evenly until the rails engage and the lock clicks. Never force it — if it resists, stop and check alignment, because forcing it can deform the rail or chassis.
Post-install verification checklist
- Rail locks / latches are fully engaged on both sides.
- Retention screws at the front of the chassis are tightened.
- The server slides out and back smoothly through its full travel.
- There's no gap at the front face and the chassis sits flush.
- The rails clearly bear the load without sagging or flexing.
- The cable management arm (CMA), if used, is mounted correctly.
- Cables have enough slack to let the server fully extend without pulling connectors.
A CMA keeps rear cabling tidy as the server moves; if you skip one, leave a manual service loop of cable slack instead.
Special Cases: 2-Post Racks, Tool-Less Rails, Universal Rails, and Used Rail Kits
Not every install is a clean 4-post job. Here's how the common exceptions differ.
2-post racks
A 2-post (relay/telco) rack supports gear from a single pair of posts, so standard 4-post sliding rails won't mount. You typically need center-mount brackets or a dedicated 2-post kit, and only lighter, shallow equipment belongs here. Heavy servers need 4-post support.
Tool-less rails
Tool-less rails rely on square-hole racks and snap-in clips. They're fast, but they won't work on threaded or round-hole posts — confirm your hole type before buying.
Universal rails
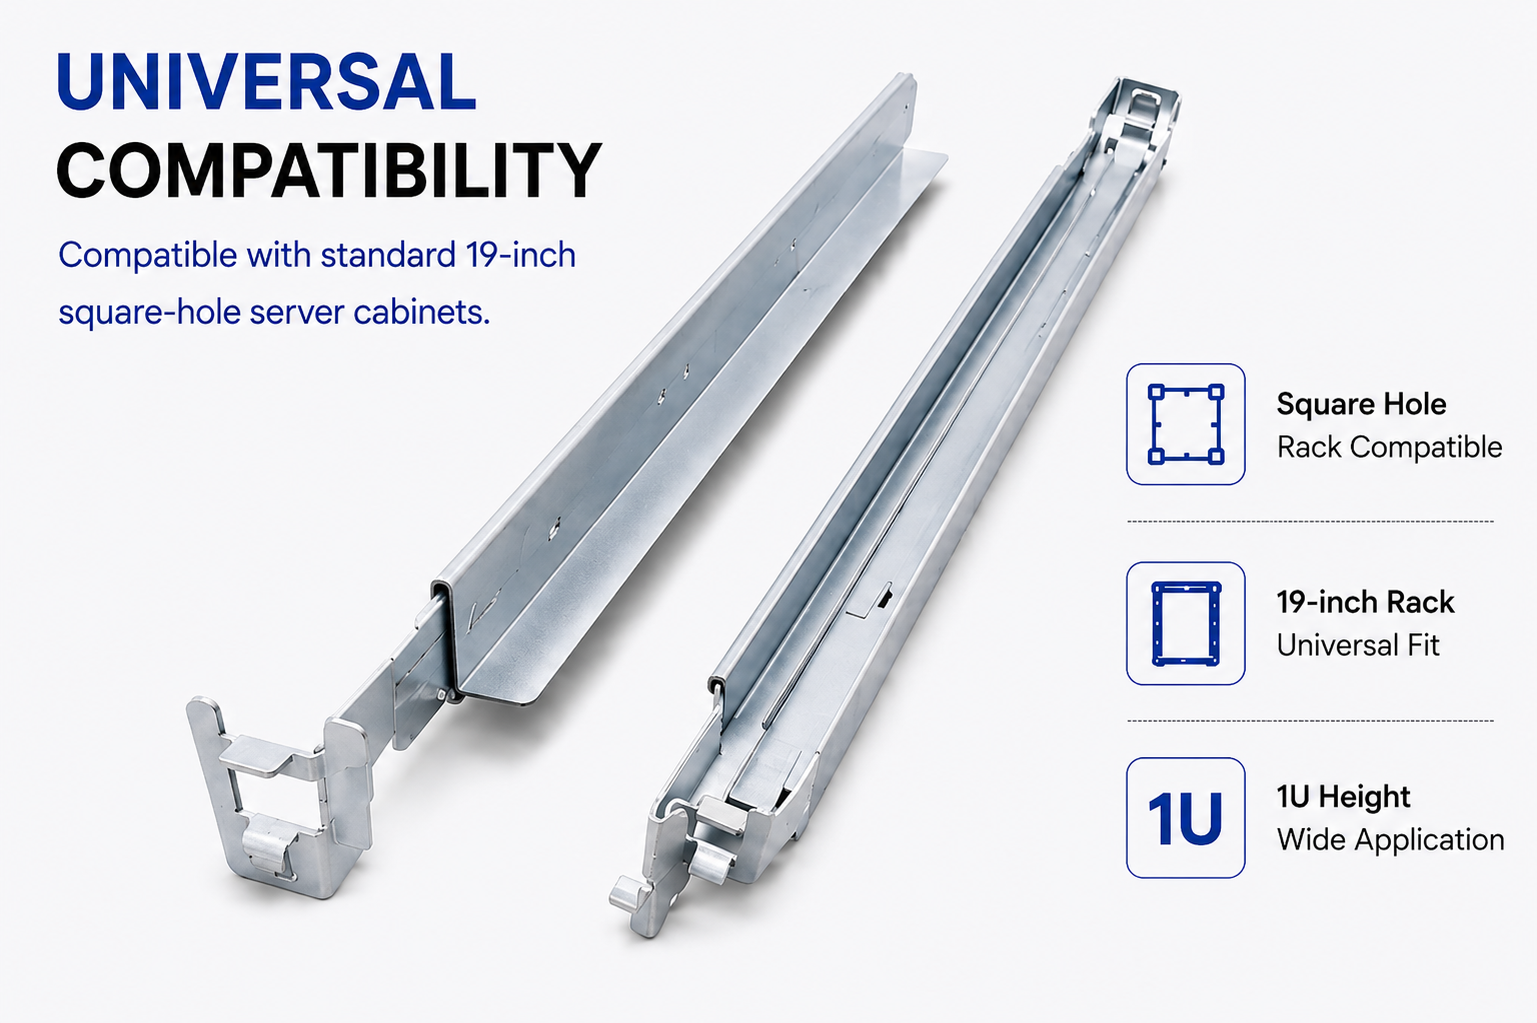
Universal rails fit many chassis but shift the verification burden to you: double-check load rating, chassis width, depth range, and how the rail supports the bottom of the server. A loose or under-rated universal rail is a real risk.
Used or non-OEM rail kits
Second-hand kits are frequently incomplete. Before installing, confirm you have the inner rails, all screws and cage nuts, the release latches, and any extension pieces. A missing inner rail or rear bracket means the kit won't mount safely. Dell and HPE rails often include model-specific locking and CMA features, so a generic substitute may not line up — when in doubt, source a complete kit.
Troubleshooting Common Server Rail Installation Problems
- Rails mounted on the wrong side — left/right reversed. Re-check the L/R marks; reversed rails won't align with the chassis studs.
- Front/rear flipped — the extension end faces the wrong way. Reorient so the sliding section runs front-to-back correctly.
- Sides not on the same U — one rail is a hole higher. Re-measure and match U positions exactly.
- Wrong rack depth — rails too short or over-extended. Re-measure post-to-post distance and reset the adjustable depth.
- Server won't slide all the way in — usually a screw head too tall or debris in the channel. Swap for the correct low-profile screw.
- Rails won't lock — latch not engaged or cage nut misplaced. Verify the clip/latch seats fully and cage nuts are in the right holes.
- Server slides roughly — misalignment or a bent member. Don't force it; realign and inspect the rail.
- Gap at the front panel — uneven depth or loose front bracket. Even out the depth and retighten.
- Rail sags under load — under-rated rail or missing rear support. Use a higher load-rated (or 4-post) rail.
- Missing inner rail or rear bracket — incomplete kit. Source the missing parts or replace the kit.
Whatever the symptom, never force a stuck server — pushing through resistance is the fastest way to damage the slide or the chassis.
Not Sure Which Rails Fit Your Build? Talk to Our Engineers
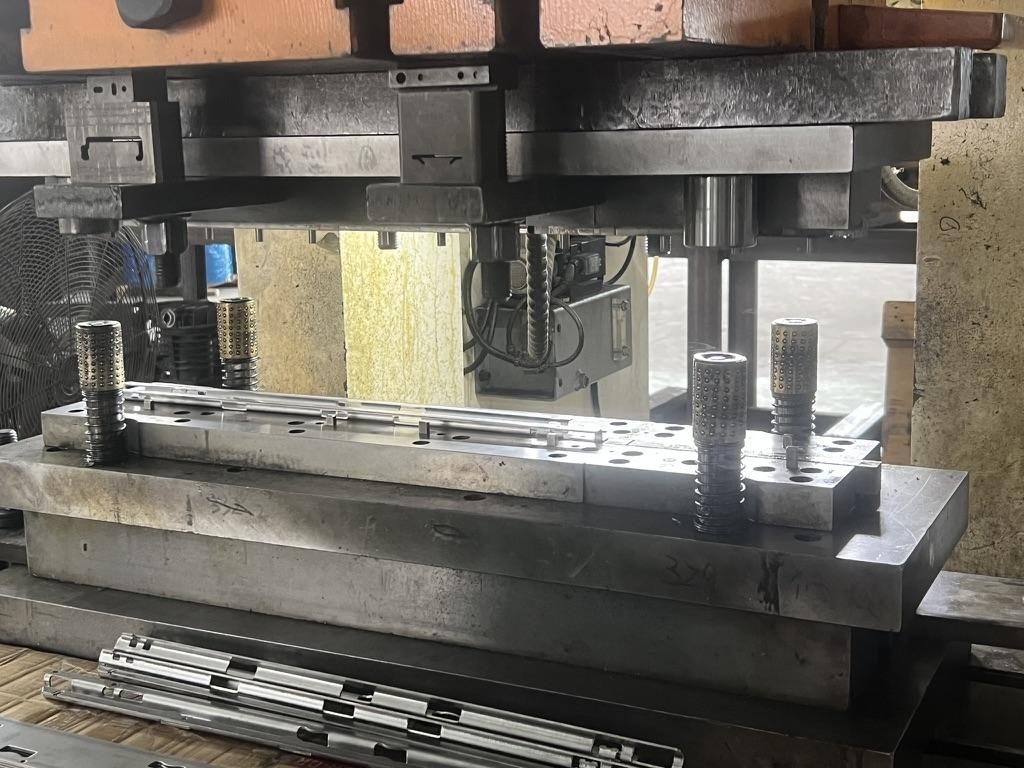
MetrixSlide is an OEM/ODM server-rail manufacturer with in-house stamping, roll forming and tooling. We produce fixed, tool-less, friction, ball-bearing and heavy-duty GPU rails, with custom engineering for rail length, hole patterns, locking mechanisms, load rating (40–180kg) and private-label branding — from prototype samples to bulk production under an ISO 9001 quality system.
If you have a custom requirement, our engineers are ready to talk it through and answer your questions. Send us your server model, rack type (2-post / 4-post), front-to-rear post distance, hole type and load needs, and we'll confirm the right rail kit — or engineer one to fit.
Frequently Asked Questions
What tools do I need to install server rack rails?
For most kits you need a #2 Phillips screwdriver (or a low-torque power driver), the supplied rack and rail screws, cage nuts and a cage-nut tool for square-hole racks, plus a tape measure and a small level. Tool-less rails may need no tools at all beyond the cage nuts for adjacent equipment.
How do I measure rack depth before installing server rails?
Measure the distance between the front and rear mounting posts inside the cabinet, then confirm your server's chassis depth and the rail's adjustable range both fit, leaving room behind the server for cabling, a cable management arm, and rear I/O clearance.
Can I install server rack rails in a 2-post rack?
Not with standard 4-post rails. A 2-post rack needs center-mount brackets or a dedicated 2-post kit, and it should only carry lighter, shallow equipment. Heavy or deep servers require 4-post support at both front and rear.
How do I know which side is the left or right server rail?
Most rails are stamped L/R and FRONT/REAR. If markings are worn, look at the asymmetry: the inner rail and locking latch are oriented to match the studs on each side of the chassis, and the extension section should run front-to-back.
Do server rack rails need cage nuts or screws?
It depends on the rack and rail. Square-hole racks use cage nuts with screws; threaded racks use screws directly (10-32, 12-24 or M6). Tool-less rails clip into square holes without screws, though you'll still use cage nuts for other rack hardware.
Why won't my server slide into the rack rails?
The most common causes are a screw head that's too tall obstructing the channel, rails set to slightly different depths or U positions, debris in the slide, or left/right rails reversed. Stop pushing, check alignment and screw height, and never force it.
Are Dell, HP, and universal server rack rails installed the same way?
The core process — mark the U, prep the posts, mount front then rear, level both sides, then load the server — is the same. The differences are in the locking latches, release mechanisms and CMA attachments, which are model-specific on OEM kits and more generic on universal rails.
How do I safely mount a heavy server onto installed rails?
Use two people, deploy the rack's anti-tip stabilizers first, and install from the bottom up. Lift with proper posture, align both inner rails with the slide entry points, and push the chassis in slowly and evenly until the locks engage — then fit the retention screws.